
How to Grow Garlic Indoors in 5 Simple Steps
Learning how to grow garlic indoors transforms your kitchen into a year-round herb garden. Fresh garlic adds amazing flavor to your cooking. You can harvest your own bulbs without stepping outside. Indoor gardening brings the farm right to your windowsill. Growing garlic indoors might seem tricky at first, but it’s actually quite simple. Many people think they need a big outdoor garden to grow their own garlic. The truth is, you can easily grow delicious garlic bulbs right inside your home. With just a few basic supplies and the right steps, you’ll have fresh garlic in a few months.
1. Choose the Right Garlic Variety for Indoor Growing
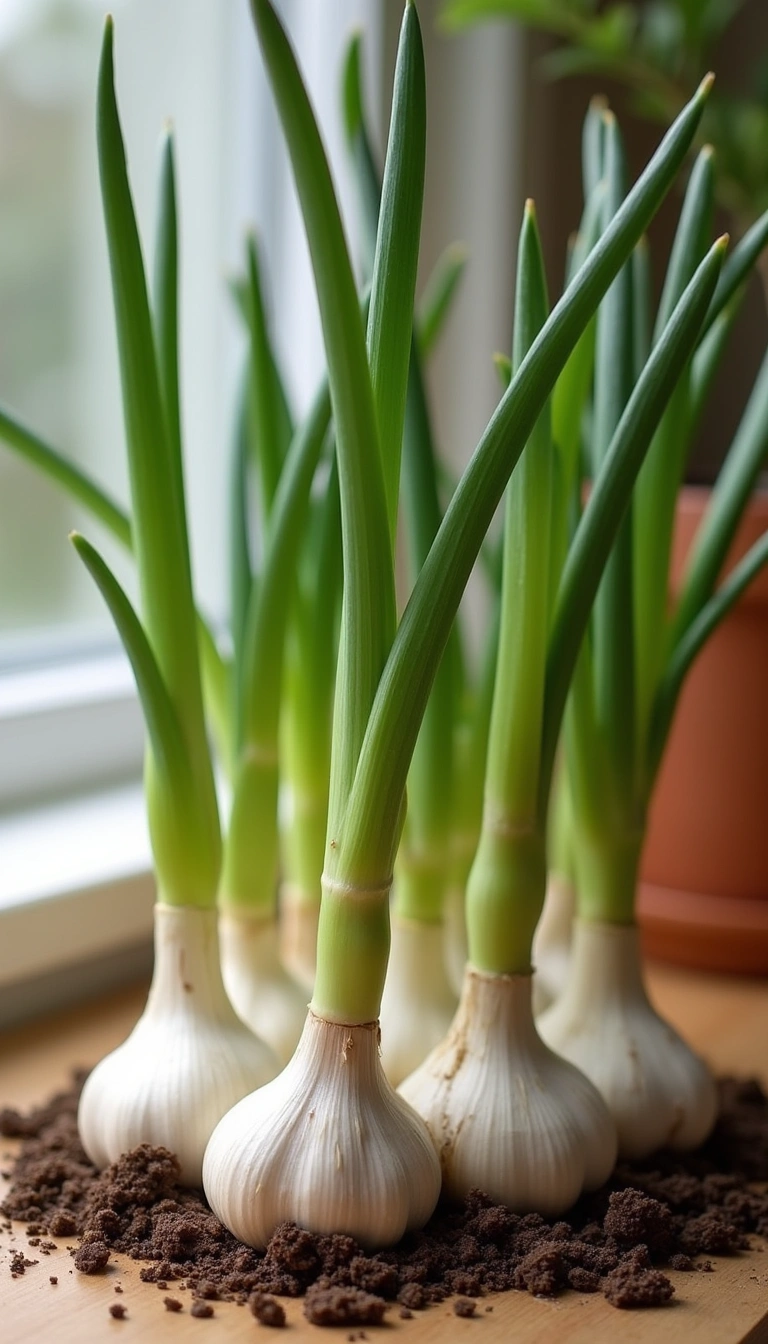
Picking the correct garlic type makes all the difference in your indoor growing success. Not all garlic varieties work well in containers or indoor conditions. You need to select types that adapt well to smaller spaces and controlled environments.
Softneck garlic varieties work best for indoor growing because they don’t need cold winter temperatures. Hardneck varieties require a cold period called vernalization, which is harder to provide indoors. Popular softneck types include California Early, Italian Late, and Red Toch garlic varieties.
2.Prepare Your Planting Containers and Soil Mix
Your garlic needs the right home to grow strong and healthy indoors. Container selection and soil preparation create the foundation for successful garlic growing. Poor drainage or wrong soil types can kill your garlic plants before they even start growing.
Use containers that are at least 6 inches deep with drainage holes in the bottom. A good potting mix should contain equal parts potting soil, compost, and perlite for proper drainage. You can also add a handful of bone meal to provide extra nutrients for bulb development.
3.Plant Your Garlic Cloves at the Perfect Time
Timing your garlic planting correctly ensures the best harvest results. Indoor garlic can be planted any time of year, but fall planting often produces the largest bulbs. The key is giving your garlic enough time to develop before you want to harvest.
Separate your garlic bulb into individual cloves just before planting, keeping the papery skin on each clove. Plant each clove pointed end up, about 2 inches deep and 4 inches apart. Water gently after planting, making sure the soil stays moist but not waterlogged.
4.Provide Proper Light and Water Conditions
Garlic plants need consistent light and moisture to develop into full-sized bulbs. Indoor conditions can be challenging because natural sunlight is often limited. You must create the right environment for your garlic to thrive and produce quality bulbs.
Place your containers near a south-facing window that gets at least 6 hours of direct sunlight daily. If natural light is limited, use grow lights positioned 6-12 inches above your plants for 12-14 hours per day. Water when the top inch of soil feels dry, usually every 2-3 days depending on your home’s humidity.
5.Harvest and Cure Your Homegrown Garlic
Knowing when and how to harvest your garlic ensures the best flavor and storage life. Harvesting too early gives you small bulbs, while waiting too long can cause the bulbs to split open. Proper timing and curing techniques preserve your garlic for months of use.
Harvest your garlic when the lower leaves turn brown but 5-6 green leaves remain on the plant. Carefully dig up the entire plant and brush off excess soil without removing the outer bulb layers. Cure your garlic in a warm, dry, well-ventilated area for 2-3 weeks before storing.
Natural Tips to Balance Your Indoor Garlic Growing
Creating the right balance of nutrients naturally helps your garlic plants produce bigger, healthier bulbs. Chemical fertilizers can work, but natural methods often produce better-tasting garlic with stronger medicinal properties. Your indoor garlic responds well to organic feeding methods.
Feed your garlic plants with compost tea made from worm castings or aged compost every 2 weeks during the growing season. You can also side-dress your containers with aged chicken manure or fish emulsion diluted to half strength. Stop feeding about 4 weeks before harvest to allow the bulbs to mature properly.
Companion planting works great for indoor garlic growing too. Plant chives, parsley, or small herbs in the same containers to maximize your space. These plants help each other grow and can improve the flavor of your garlic bulbs naturally.
Maintain proper air circulation around your garlic plants to prevent fungal diseases. A small fan running on low speed for a few hours daily helps strengthen plant stems. Good airflow also prevents moisture buildup that can cause bulb rot in indoor conditions.
Supplements to Balance Indoor Growing Conditions
Sometimes natural methods need a little boost to create perfect growing conditions for your indoor garlic. Organic supplements can fill gaps that regular potting soil and natural fertilizers might miss. These additions help your garlic plants reach their full potential in container growing.
Add mycorrhizal fungi to your soil mix to improve nutrient uptake and root development. These beneficial fungi form partnerships with garlic roots, helping plants absorb water and nutrients more effectively. You can buy mycorrhizal inoculant at most garden centers or online.
Kelp meal provides trace minerals that garlic plants need for strong bulb development. Mix 1 tablespoon of kelp meal into each gallon of potting soil before planting. This supplement slowly releases minerals throughout the growing season without burning plant roots.
Calcium supplements help prevent common garlic problems like bulb splitting and poor storage life. Crushed eggshells mixed into your potting soil provide slow-release calcium. You can also use gypsum (calcium sulfate) if your soil needs both calcium and sulfur.
Epsom salt (magnesium sulfate) helps garlic plants produce chlorophyll and process nutrients efficiently. Dissolve 1 tablespoon in a gallon of water and use this solution once monthly during active growth. Stop magnesium feeding when you notice the bottom leaves starting to yellow naturally.
Troubleshooting Common Indoor Garlic Problems
Even with perfect care, indoor garlic growing can present some challenges. Recognizing problems early helps you fix issues before they damage your harvest. Most indoor garlic problems come from watering, lighting, or air circulation issues.
Yellow leaves often mean too much water or poor drainage in your containers. Check that water drains freely from the bottom holes and reduce watering frequency. Brown leaf tips usually indicate low humidity or fluoride in tap water – try using filtered water instead.
Small bulbs typically result from overcrowding, poor nutrition, or harvesting too early. Make sure each clove has enough space to develop and feed regularly during the growing season. Wait for the proper harvest signals before digging up your bulbs.
Fungal diseases like white rot or downy mildew can attack indoor garlic in humid conditions. Improve air circulation and avoid getting water on the leaves when watering. Remove any affected plants immediately to prevent spread to healthy garlic.
Storing Your Indoor-Grown Garlic Properly
Proper storage extends the life of your homegrown garlic for months of fresh flavor. Indoor-grown garlic often has thinner skins than outdoor varieties, so storage methods matter even more. Good storage techniques preserve both flavor and nutritional value.
Store cured garlic bulbs in a cool, dry place with good air circulation. Braiding softneck varieties or hanging them in mesh bags works well for long-term storage. Avoid storing garlic in plastic bags or the refrigerator, which can cause sprouting or mold.
Save your best bulbs for replanting next season’s indoor garlic crop. Choose the largest, healthiest bulbs with tight, unbroken skins for seed garlic. Properly stored garlic bulbs remain viable for planting for 6-8 months after harvest.
Maximizing Your Indoor Garlic Harvest
Getting the most from your indoor garlic growing space requires some planning and technique. Small adjustments in your growing methods can significantly increase your harvest size. Smart container management helps you grow more garlic in limited indoor space.
Succession planting lets you harvest fresh garlic throughout the year. Plant new containers every 4-6 weeks to ensure continuous harvests. This method works especially well with green garlic harvesting, where you use young plants like green onions.
Consider growing garlic scapes if you accidentally plant hardneck varieties indoors. These curly flower stalks are delicious in stir-fries and pesto. Cut scapes when they form curls but before they straighten, which also helps the plant put energy into bulb development.
Intercropping with fast-growing herbs maximizes your container space efficiency. Lettuce, spinach, and radishes can grow between garlic plants early in the season. Harvest these quick crops before the garlic plants need the full space for bulb development.
Understanding Garlic Growth Stages Indoors
Knowing what to expect during each growth stage helps you provide the right care at the right time. Indoor garlic follows the same basic growth pattern as outdoor garlic but often grows faster. Understanding these stages prevents worry about normal plant changes.
The first green shoots appear 2-4 weeks after planting, depending on variety and temperature. These initial leaves look like grass and grow slowly at first. Don’t worry if growth seems slow – garlic spends most early energy developing roots.
Active leaf growth happens during months 2-4, when plants produce most of their green foliage. This stage needs the most water and nutrients as plants build energy for bulb formation. Keep soil consistently moist but never soggy during this important growth period.
Bulb development begins when day length and temperature trigger the plant’s natural timing. Indoor garlic may need artificial day length changes to start bulbing properly. Reduce light hours to 10-12 per day to signal bulb formation time.
The final maturation stage shows yellowing bottom leaves as the plant transfers energy from foliage to bulbs. This natural process takes 2-3 weeks and signals approaching harvest time. Stop watering when about half the leaves turn yellow to prevent bulb rot.
With these five simple steps, you’ll soon enjoy fresh, homegrown garlic from your indoor garden. Your kitchen will never lack that perfect garlic flavor again. Start your first container today and discover how easy indoor garlic growing can be.

Welcome to MithilaConnect, where we curate the art of living, celebrating the vibrant tapestry of life through culture, fashion, food, and everything in between.